Bring me to the Dental Camp! Bring the Dental Camp to my school

Plaque

Plaque disclosing at Dental Camp


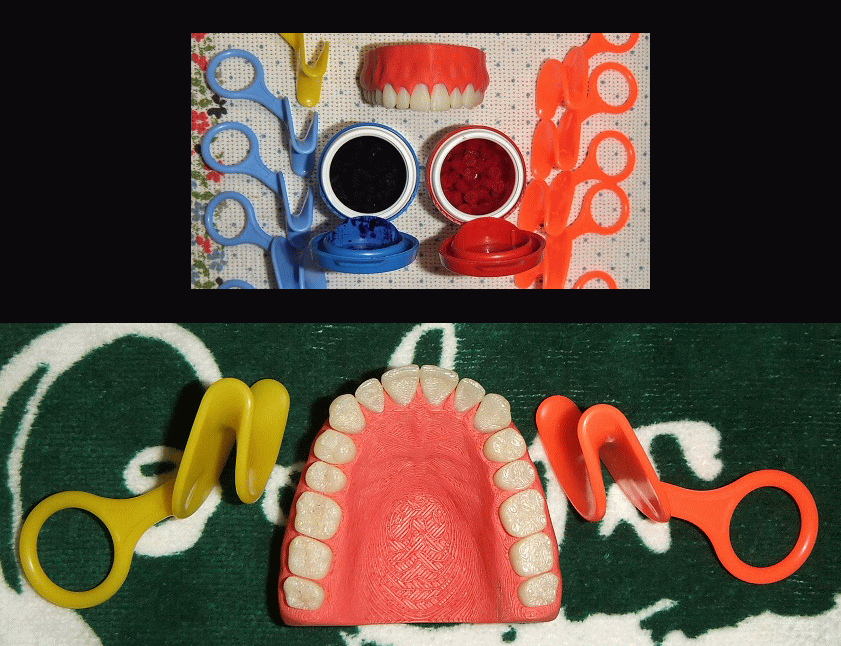
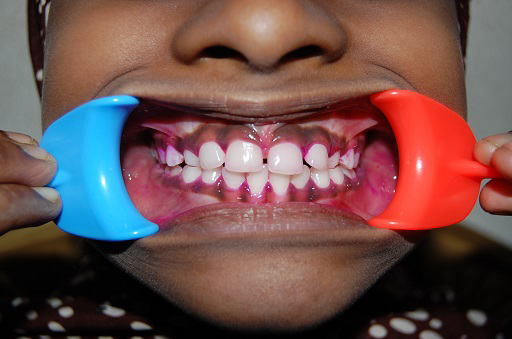
Plaque Check using Dye & Small Cheek Retractor for children

Photography of Dental Plaques stained after toothbrushing.
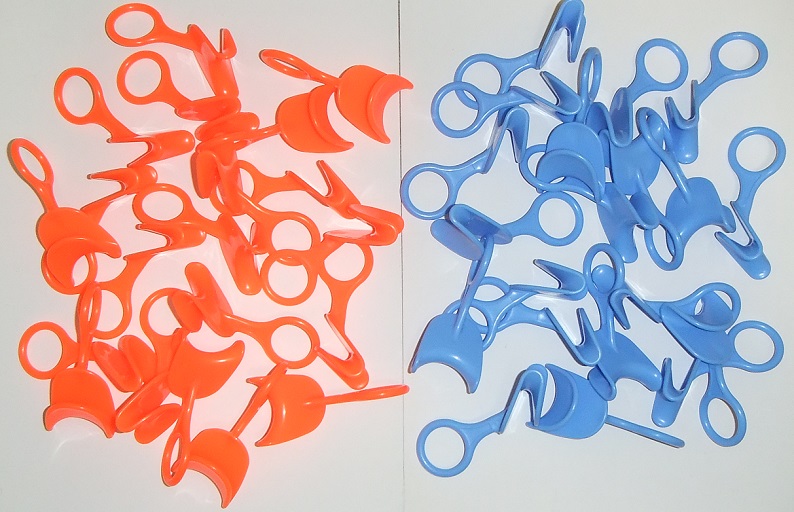
Cheek retractors are required for children to look at the inside of their mouth and teeth using a hand mirror by himself.
Right-and-Left set for 20 children.


Plaque staining and Oral photography
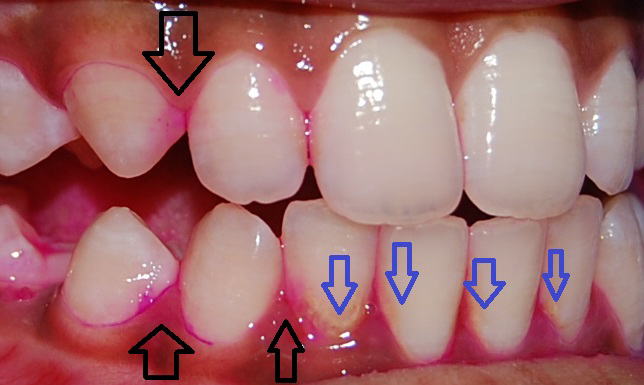
Right, Front and Left View of Plaque Disclosing at DarulQuaranMadrasa. Plaque Photo by Mr.Sogo Japan.

Upper image is a magnified image of the right side.
Black arrow ( Red stained) indicates the plaque remaining after toothbrushing.
The blue arrow shows the old plaques fixed to teeth.
These are a kind of calculus.


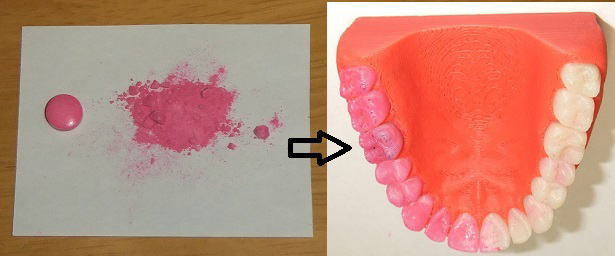
Plaque Disclosing Solution (pellet)

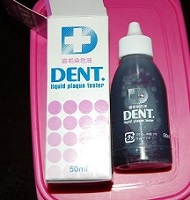
DENT : Liquid type and Stick Type
There are many staining kit.
So, We must take both cost and convenience(time required) into consideration.
Although it was slightly high-cost, the stick type was used by cooperation of Japan at this time.
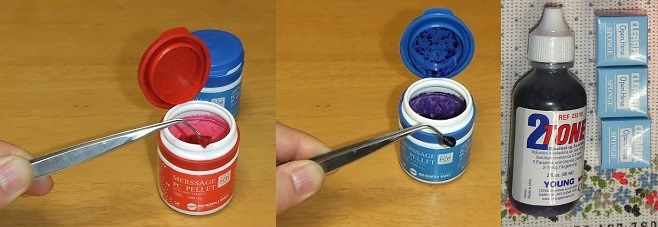
Mersage: Red for Plaque , Blue for Plaque and Dental calculus
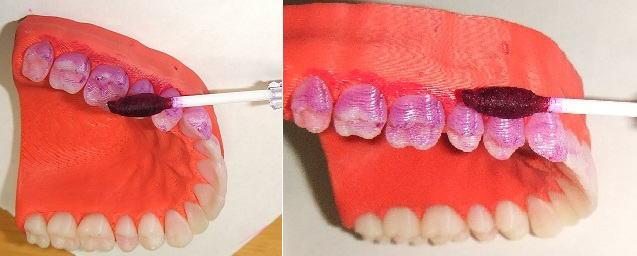
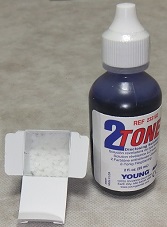
TwoTone, Red and Blue all in one (with Sponge)
Red disclosing pellet dyes a dental plaque well.
Blue pellet contains both Red and Blue stain so Plaque become Purplish Red and Calcified(=Old) Plaque become Blue.
Just push/touch the pellet softly to teeth and use just the surface of the teeth,not gum etc..
And after gargle, Children can clearly find the point of Remaining Plaque with the help of handy Mirror and Cheek retractors.
The portion which is dyed in blue is the calcified old dental plaque and is need to be removed by scaling...
Dyed in red/blue portion will be recorded as Plaque Control Record(PCR ) if possible.
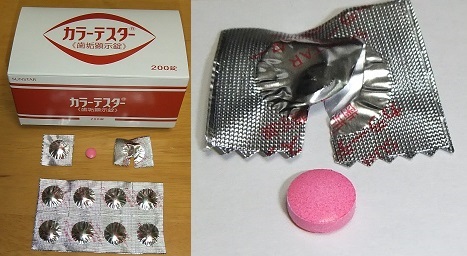
Tablet type
The above-mentioned dyeing agents are for dentist, an oral hygienist, and parents.
Children cannot apply it by themselves.
However, the tablet type and (Tooth/Dental) paste type (which are mentioned on the Left side)can be applied by children themselves under sufficient guidance,
It may be convenient in dental camp.
The problem is that tablets resemble unlawful drugs.
* In our actual experience it was difficult to use for lower grade children.
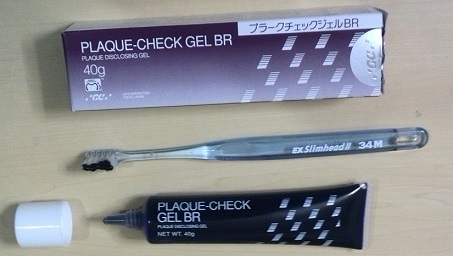
Tooth/Dental paste type
How to ....


Tips..
Mersage: One pellet for one child, Just Light Touch,
TwoTone: One Sponge for one part, 4 Sponges for one child

The swab (stick) type packed one by one.
It is convenient in dental camp. But the price is a little higher than liquid type.

The above-mentioned tablet type should be chewed up well and rubbed onto oral cavity(tooth) by using a tongue.
Under sufficient guidance, elder children are able to do by themselves.
It is also very convenient in dental camp.
But instruction is required so that children should not chew up other all medicine.

The above-mentioned dental paste type is used with a toothbrush,
(attaching small amount of the paste on to toothbrush).
Under sufficient guidance, children are able to do by themselves.
It is very very convenient in dental camp.
But the color is too strong/overstimulating for small children .
Moreover, the price is also high( 40g cost about 17US$)


Plaque disclosing and Plaque control Record (PCR)


PCR requires some more guidance to local staff including school teachers and is too time -consuming for the dental camp.


Record by using photography may be a substitute for PCR.

Link to PCR


Photographs

All photographs were taken simultaneously with a oral/medical checkup.
The photography of a total 50 students from three directions were possible on a single charge using one battery(rechargeable type).
The camera used was an old one and with a ordinary zoom lens at the moment.
Only labial side view from premolar to premolar at counter side were taken.
Basically, Molars and the lingual and palatal sides should be taken using mirror(expensive!), but it is not easy for children.
However , we will consider it might be able to take the palatal and lingual side views directly( without using a mirror ).
Also Dental Macro lens with Ring/Side-by-side stroboscope is expensive, We would like to prepare more easy method in addtion to it.
* You need to use a larger retractor than that for self-checking at taking photos.
* For front views, it is necessary not to pull the retractor backward but to move/spread it forward/horizontal direction.